
Stitch Count & Embroidery
Density for Patches
Stitch count is the total number of stitches in an embroidered patch design, and embroidery density is how tightly those stitches sit together, measured in stitches per square centimetre. Both attributes determine a patch’s clarity, durability, and price. This guide explains stitch count and embroidery density for UK buyers ordering custom embroidered patches, so you understand exactly what affects quality and cost before you request a quote.
What Is Stitch Count?
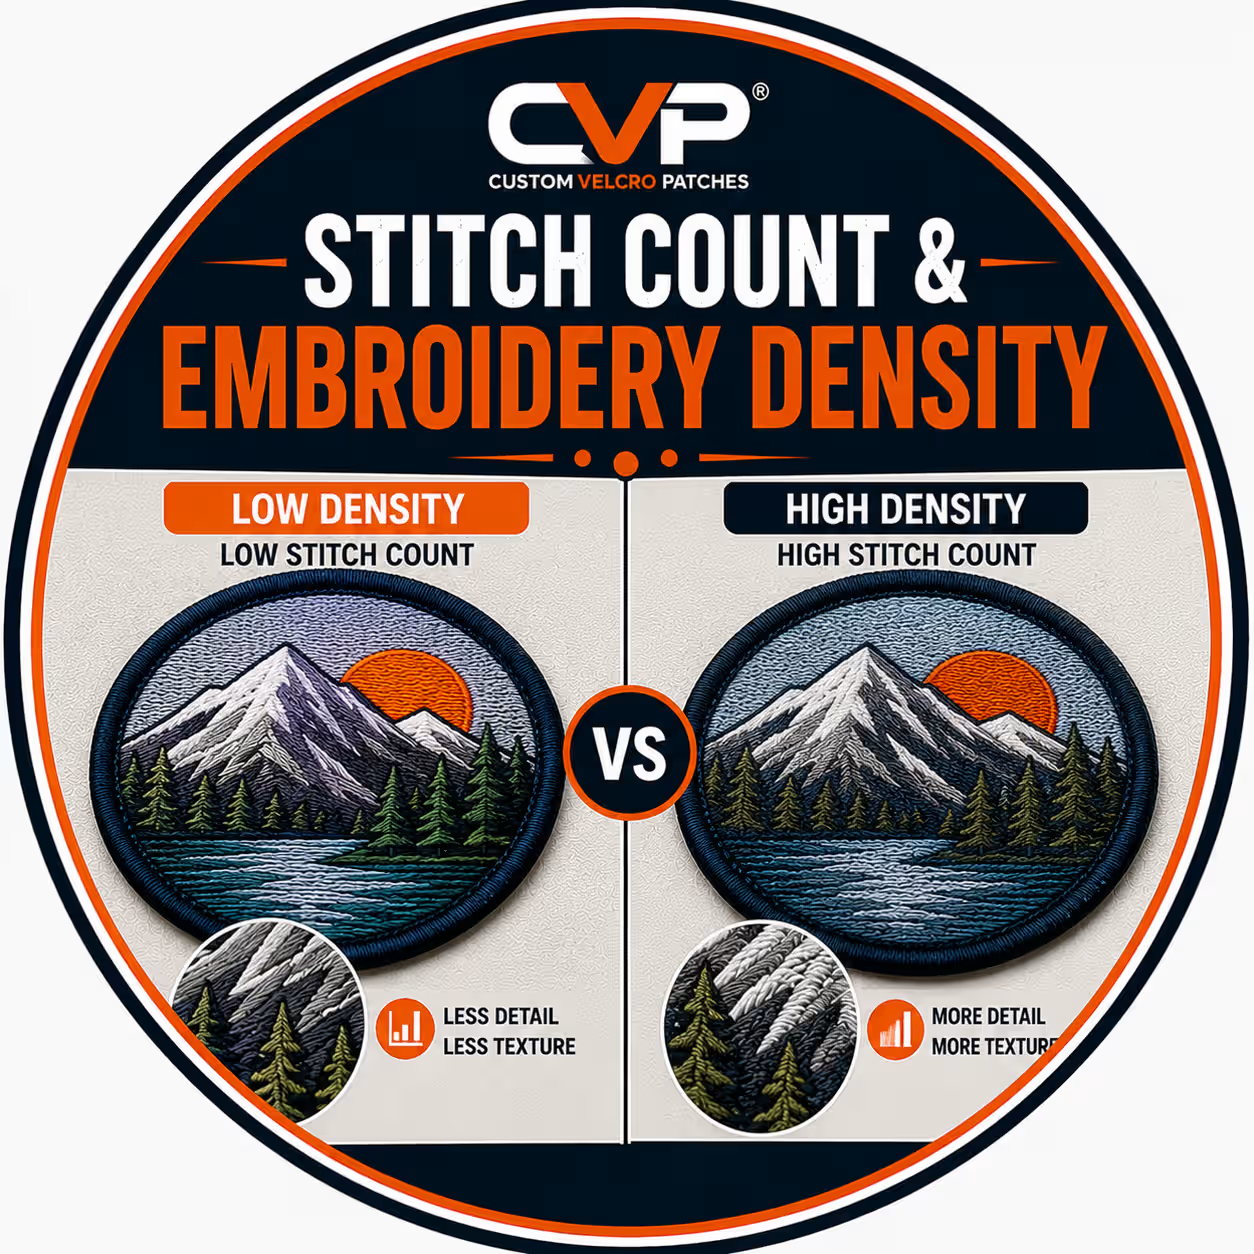
Stitch count is the total number of individual stitches a multi-needle embroidery machine sews to complete a patch design. The digitising software calculates this figure when it converts your artwork into a stitch file. A simple logo patch contains 5,000 to 10,000 stitches, while a detailed crest or full-back design exceeds 40,000 stitches.
Stitch count depends on three factors: the size of the design, the complexity of the artwork, and the percentage of the patch covered in thread. A larger patch holds more embroidered area, so it carries a higher stitch count than a smaller patch with the same design. Stitch count is the starting figure embroiderers use to estimate production time, thread usage, and the final price of bespoke patches.
What Is Embroidery Density?
Embroidery density is the spacing between individual stitches within a design. The closer the stitches sit to one another, the higher the density. High density produces sharper detail and stronger coverage, while low density lets the twill base fabric show through. Density controls how solid, smooth, and durable the finished embroidery looks.
Density differs from stitch count, though the two are linked. Embroidery software measures density in three standard ways, and UK patch makers use all three depending on the design.
Density Measured as Stitch Spacing (mm)
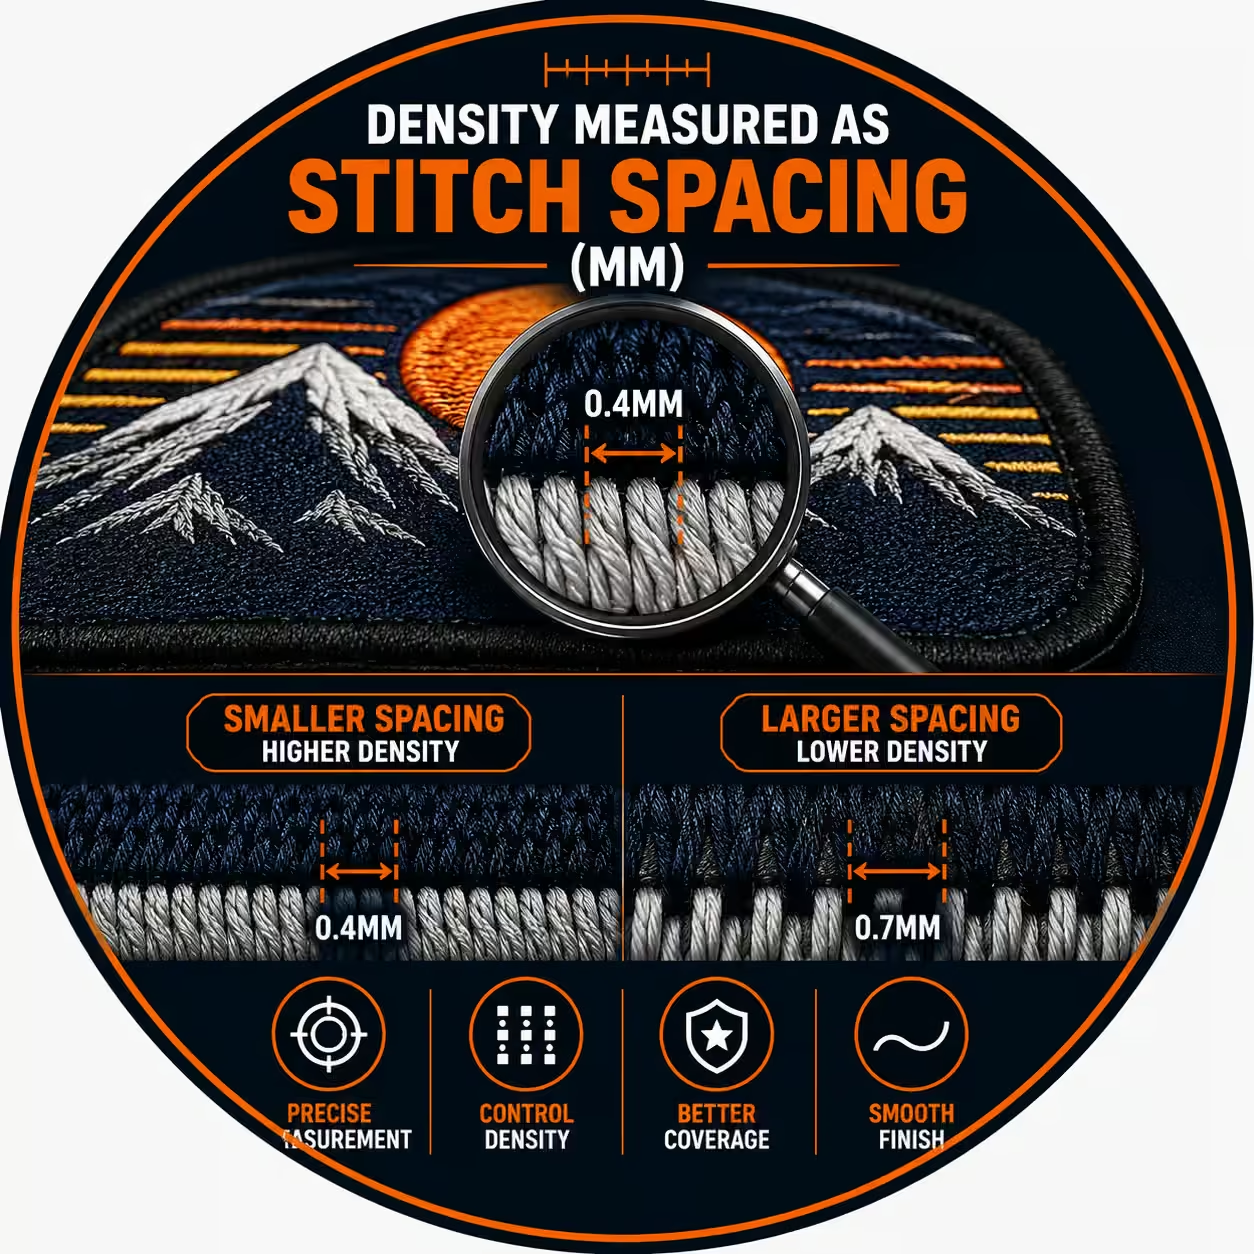
Stitch spacing measures the distance between rows of stitches in millimetres. A smaller distance equals a higher density. Fill areas on embroidered patches use a spacing of 0.4mm to 0.45mm between stitches, which covers the twill cleanly without overloading the fabric. Satin borders and lettering use tighter spacing, often between 0.0mm and 0.4mm, to create a smooth, glossy edge.
Density Measured as Stitches Per Inch (SPI)
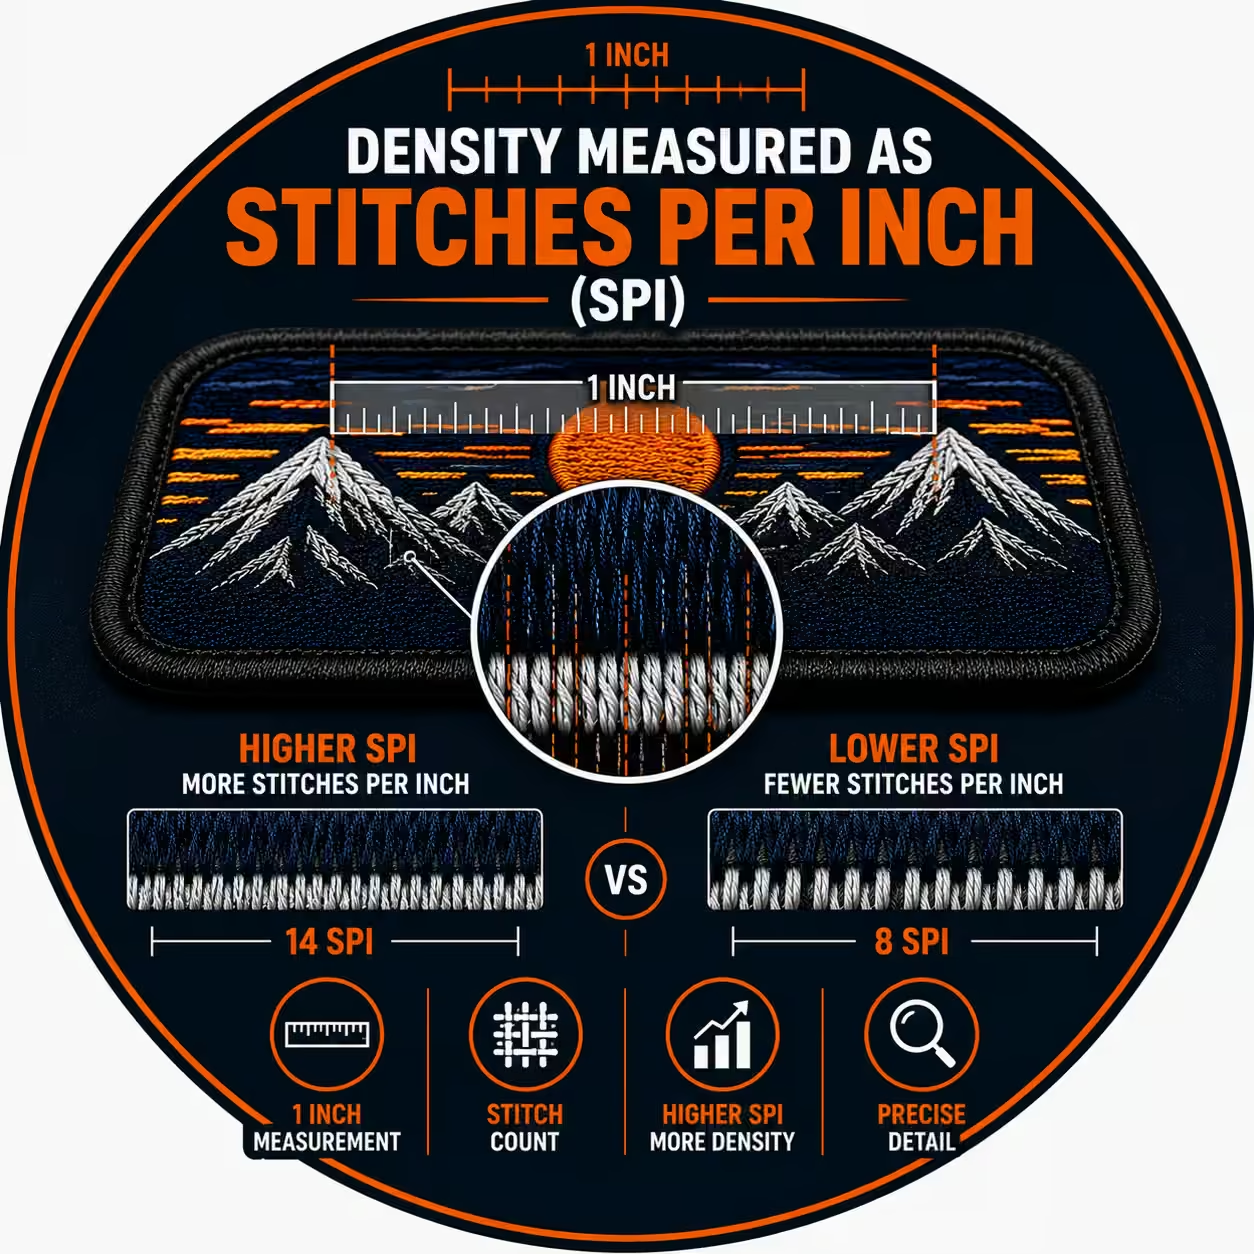
Stitches per inch counts how many stitches fit within a one-inch length. A higher SPI value means denser embroidery. Embroidered patches themselves are dense, so attachment stitching sits in the 10 to 14 SPI range to anchor securely into the patch base. SPI is the unit most commonly used by digitisers working to imperial settings.
Density Measured as Stitches Per Square Centimetre
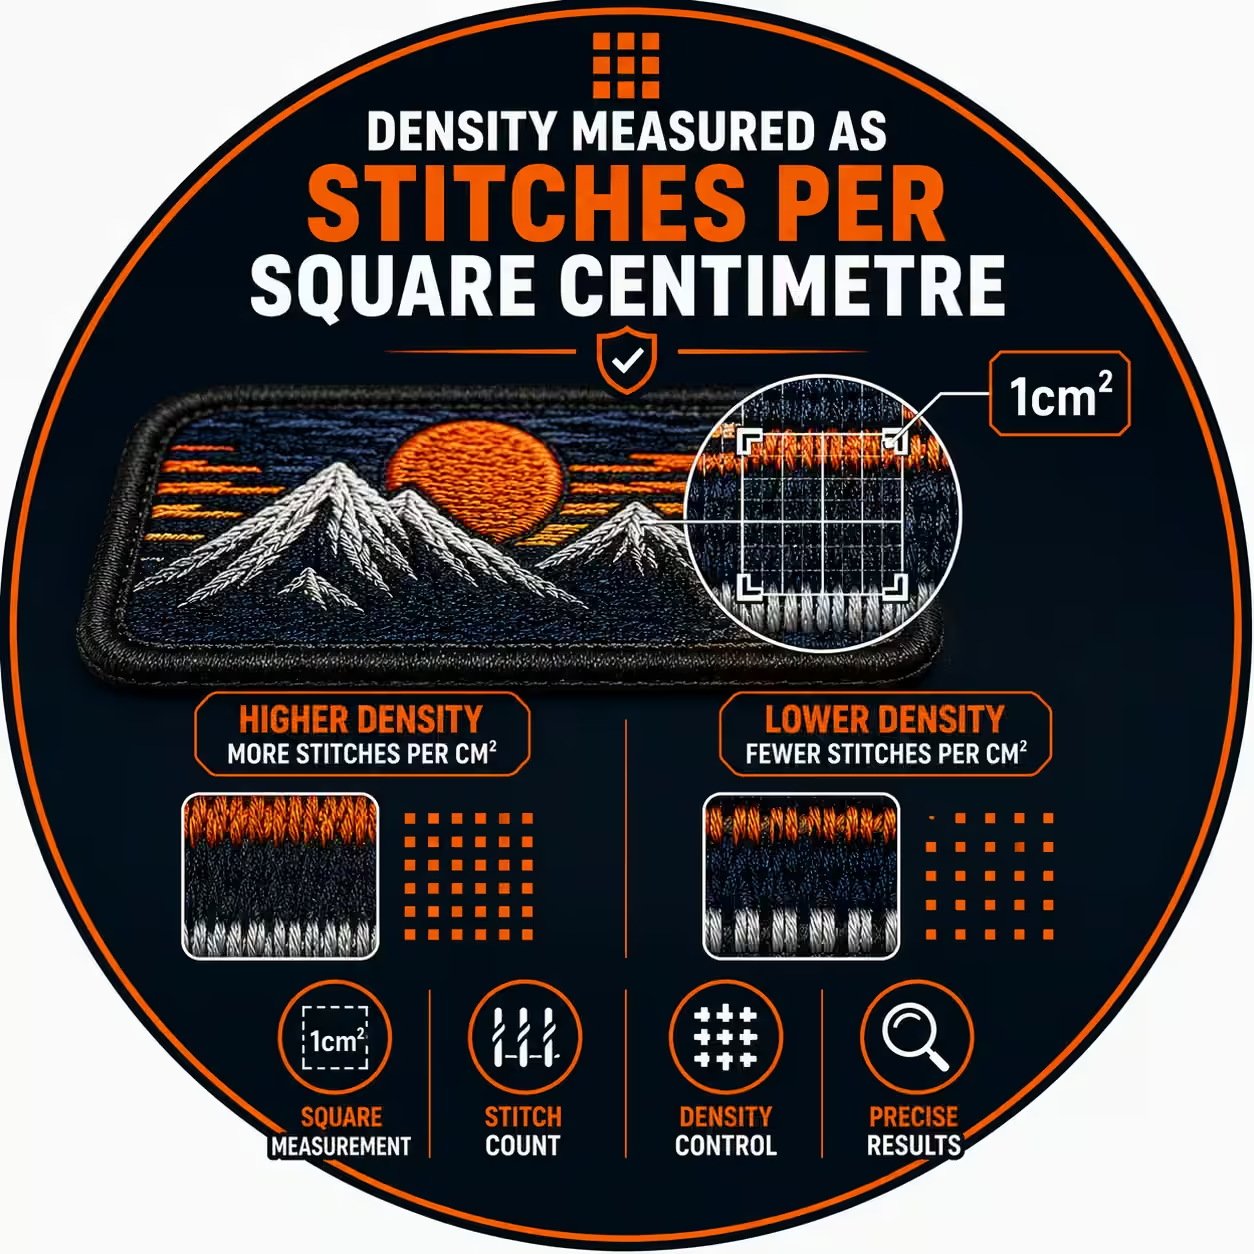
Stitches per square centimetre measures density across the surface area of the design. UK patch makers use a baseline of 200 stitches per square centimetre to estimate standard embroidery jobs. This metric is the most practical for quoting, because it links directly to patch size and coverage. A patch with denser fill uses more stitches per square centimetre and produces a heavier, more solid finish.
Stitch Count vs Embroidery Density – The Difference
Stitch count and embroidery density describe different things, and buyers often confuse the two. Stitch count is the total quantity of stitches in the whole design. Density is how tightly those stitches are packed into a given area. A small patch with very high density can hold the same stitch count as a larger patch with low density.
| Attribute | Stitch Count | Embroidery Density |
|---|---|---|
| Definition | Total number of stitches in the design | How tightly stitches are packed together |
| Unit | Number of stitches (e.g. 8,000) | mm spacing, SPI, or stitches/cm² |
| Determined by | Size + coverage + complexity | Digitising settings |
| Affects | Production time and price | Detail, durability, and stiffness |
| Controlled during | Quoting and design sizing | The digitising stage |
Understanding both attributes helps you brief a patch supplier accurately. Stitch count drives your quote, while density determines how your finished embroidered patches look and feel.
How Stitch Count Is Calculated
Stitch count is calculated from the patch size and the amount of thread coverage in the design. Digitising software produces the exact figure, but a standard formula gives a reliable estimate before production. UK patch makers use this estimate for quote planning and embroidery budgeting.
The Size and Coverage Formula
The formula multiplies the patch area by a standard density and the coverage percentage:
Stitch Count = Width (cm) × Height (cm) × 200 × Coverage %
Follow these steps to estimate the stitch count for your patch:
1. Measure the width and height of your patch in centimetres.
2. Multiply width by height to find the total design area in square centimetres.
3. Multiply the area by 200, the baseline density of stitches per square centimetre.
4. Multiply by your coverage percentage to account for how much of the patch is filled with thread.
Worked example: A 7cm × 7cm patch has an area of 49cm². At full 100% coverage, the estimate is 49 × 200 × 1.0 = 9,800 stitches. The same patch at 50% coverage drops to 4,900 stitches. The formula gives a dependable starting figure, though the final digitised stitch file varies slightly with design complexity.
Stitch Count by Patch Size (Benchmark Table)
The table below shows typical stitch counts for common patch sizes at medium coverage. Use it as a quick reference when planning a custom patch order in the UK.
| Patch Type & Size | Typical Use | Estimated Stitch Count |
|---|---|---|
| 5cm logo patch | Left-chest badge, small uniform logo | 3,000 – 6,000 |
| 7.5cm round patch | Club emblem, society badge | 7,000 – 10,000 |
| 9cm shield patch | Crest, military or cadet insignia | 12,000 – 20,000 |
| 10cm × 10cm badge | Detailed full-colour badge | 18,000 – 28,000 |
| Full-back patch (25cm+) | Motorcycle club, jacket back | 40,000 – 100,000+ |
Both dimensions matter equally, because a larger embroidered area always raises the stitch count even when the design style stays the same. A tall design with vertical text, shields, or detailed insignia adds thousands of stitches quickly.
How Coverage Percentage Affects Stitch Count
Coverage percentage is the proportion of the patch surface actually filled with embroidery thread. Coverage is one of the biggest factors affecting stitch count, because more filled area means more stitches. A patch with light text uses far fewer stitches than a fully embroidered badge with a dense twill-covered background.
UK patch orders fall into three common coverage bands:
- Light coverage (around 30%–40%): Open text, thin outlines, and plenty of exposed twill. This band suits simple logos and lightweight designs and produces the lowest stitch count.
- Medium coverage (around 40%–60%): Filled shapes with a visible twill background. A typical business logo patch sits in this band, and most UK patch orders fall here.
- Full coverage (around 75%–100%): Solid embroidered backgrounds, crests, and detailed badges. This band creates the highest stitch counts because thread covers almost the entire patch surface.
Coverage interacts directly with density. A patch at 100% coverage with high density produces a thick, heavy finish, while the same coverage with controlled density stays flexible. Choosing the right coverage keeps your custom patches both detailed and comfortable to wear.
What Is the Right Stitch Density for a Patch?
The right stitch density balances clarity, durability, and flexibility. Correct density covers the twill fully, holds fine detail, and keeps the patch flexible enough to sit comfortably on a garment. The ideal figure is not a single number, because each area of a design needs a different density. Fill areas, satin borders, and small text each call for their own density setting.
Optimal Density for Fill Areas
Fill areas use a stitch spacing of 0.4mm to 0.45mm between rows. This range covers the twill base fabric cleanly and produces a solid, even surface. Tighter fill spacing adds thread weight and stiffness, while looser spacing lets the fabric show through. A skilled digitiser sets fill density to match the patch size and the thread type, so polyester and rayon threads both sit flat and smooth.
Density for Satin Borders and Fine Text
Satin stitches form the glossy borders and lettering on embroidered patches. Satin density sits between 0.0mm and 0.4mm spacing to create a smooth, raised edge. A merrow border uses dense satin stitching to wrap the patch outline neatly. Small text needs lower fill density and finer satin columns, because packing too many stitches into tiny lettering blurs the characters. Crisp text on a patch comes from controlled density, not from maximum density.
The Over-Density Problem (Stiff Patches & Thread Breaks)
Excessive density damages both the look and the durability of a patch. Stuffing too many stitches into a small area makes small text blur into a thick blob, and fine details disappear altogether. Over-dense designs also create production problems: the needle perforates the twill repeatedly, threads break, and the finished patch turns stiff and heavy. A “bullet-proof patch” with too much thread feels rigid and cracks at the edges over time. Correct density, by contrast, produces clean edges, clear text, and a patch that survives 20-plus washes. This is why more stitches do not always mean a better patch.
How Stitch Count Affects Patch Pricing in the UK
Stitch count has a direct effect on the price of custom patches, because it determines production time. A multi-needle embroidery machine sews at a fixed speed, so a higher stitch count takes longer to run and costs more per patch. A 4,000-stitch patch produces far faster than a 20,000-stitch fully embroidered badge. Stitch count is the figure UK patch makers use as the starting point for quoting, alongside size, backing type, and order quantity.
Order volume lowers the per-unit cost. Beyond the first 1,000 stitches, the cost per patch falls as the order quantity rises, because bulk production spreads the machine setup time across more units. A large jacket-back embroidery in the UK typically costs between £10 and £20 per piece, while small logo patches cost far less. To plan your budget, work out the patch size and coverage you need, then read how patch pricing and minimum order quantities work for the full breakdown of MOQ and bulk rates.
Stitch Density Across Different Patch Types
Stitch density differs across patch types, because each type uses a different construction method. Embroidered patches carry the highest thread density of all patch types. Woven patches use a finer, tighter weave that holds small detail without heavy thread depth. PVC patches and printed patches use no stitching for the design itself, so density applies only to any attachment stitching.
| Patch Type | Design Density | Best For |
|---|---|---|
| Embroidered patches | High thread density, raised texture | Uniforms, clubs, military insignia |
| Woven patches | Fine weave, thinner profile | Logo patches, small text, detailed artwork |
| PVC patches | No thread density (moulded) | Outdoor gear, tactical, weather-resistant use |
| Printed patches | No thread density (full-colour print) | Photographic detail, events, promotions |
Choose embroidered patches when texture and a classic stitched look matter most. Choose woven patches when fine detail matters more than thread depth. Compare the full range on the custom embroidered patches page to match the right type to your design.
How We Set the Right Density for Your Patch
We set stitch count and density during the digitising stage, before any thread touches the twill. Our digitisers convert your artwork into a stitch file, then assign fill density, satin density, and underlay to each area of the design. Underlay stitches anchor the design to the base fabric, and pull compensation corrects the slight distortion that dense stitching creates. These settings keep lettering crisp, borders sharp, and the finished patch flexible.
Every order includes a digital proof before production. The proof confirms the stitch count, the density, and the patch size affect the final look you approve. Patch size affects total stitch count, so we confirm your dimensions early, see the patch sizing guide to choose the right measurements. We match thread colours to your brand at the same stage, which you can read about on the thread colour matching page.
Our Customer Reviews
Frequently Asked Questions
What is a good stitch count for an embroidered patch?
Does a higher stitch count mean better quality?
Is embroidery density the same as stitch count?
Does stitch count affect the price of custom patches?
What stitch density is used for small text on patches?
How do I estimate the stitch count for my patch?
Summary
Stitch count and embroidery density are the two attributes that shape the quality, durability, and price of custom embroidered patches. Stitch count measures the total threadwork in a design and rises with size and coverage, while density measures how tightly the stitches sit and controls detail, texture, and stiffness. The right density covers the twill cleanly without overloading it, keeping text sharp and the patch flexible. For UK buyers, understanding these two figures means clearer quotes, better-briefed artwork, and a finished patch that looks crisp and lasts. When you are ready, share your design and dimensions for a digital proof and a tailored quote.
Request a Free Quote