Artwork Guidelines for Custom Patches
Artwork guidelines define the file format, resolution, and design specifications a patch design must meet before production begins. Custom velcro patches reproduce your logo, badge, or design accurately only when the submitted artwork follows these specifications. This guide explains the exact artwork requirements for embroidered, woven, PVC, printed, chenille, and leather patches, so your design transfers cleanly from screen to stitch. Following these guidelines prevents production delays, removes redraw fees, and protects the quality of every bespoke patch we make in the UK.
What Are Artwork Guidelines for Patches?
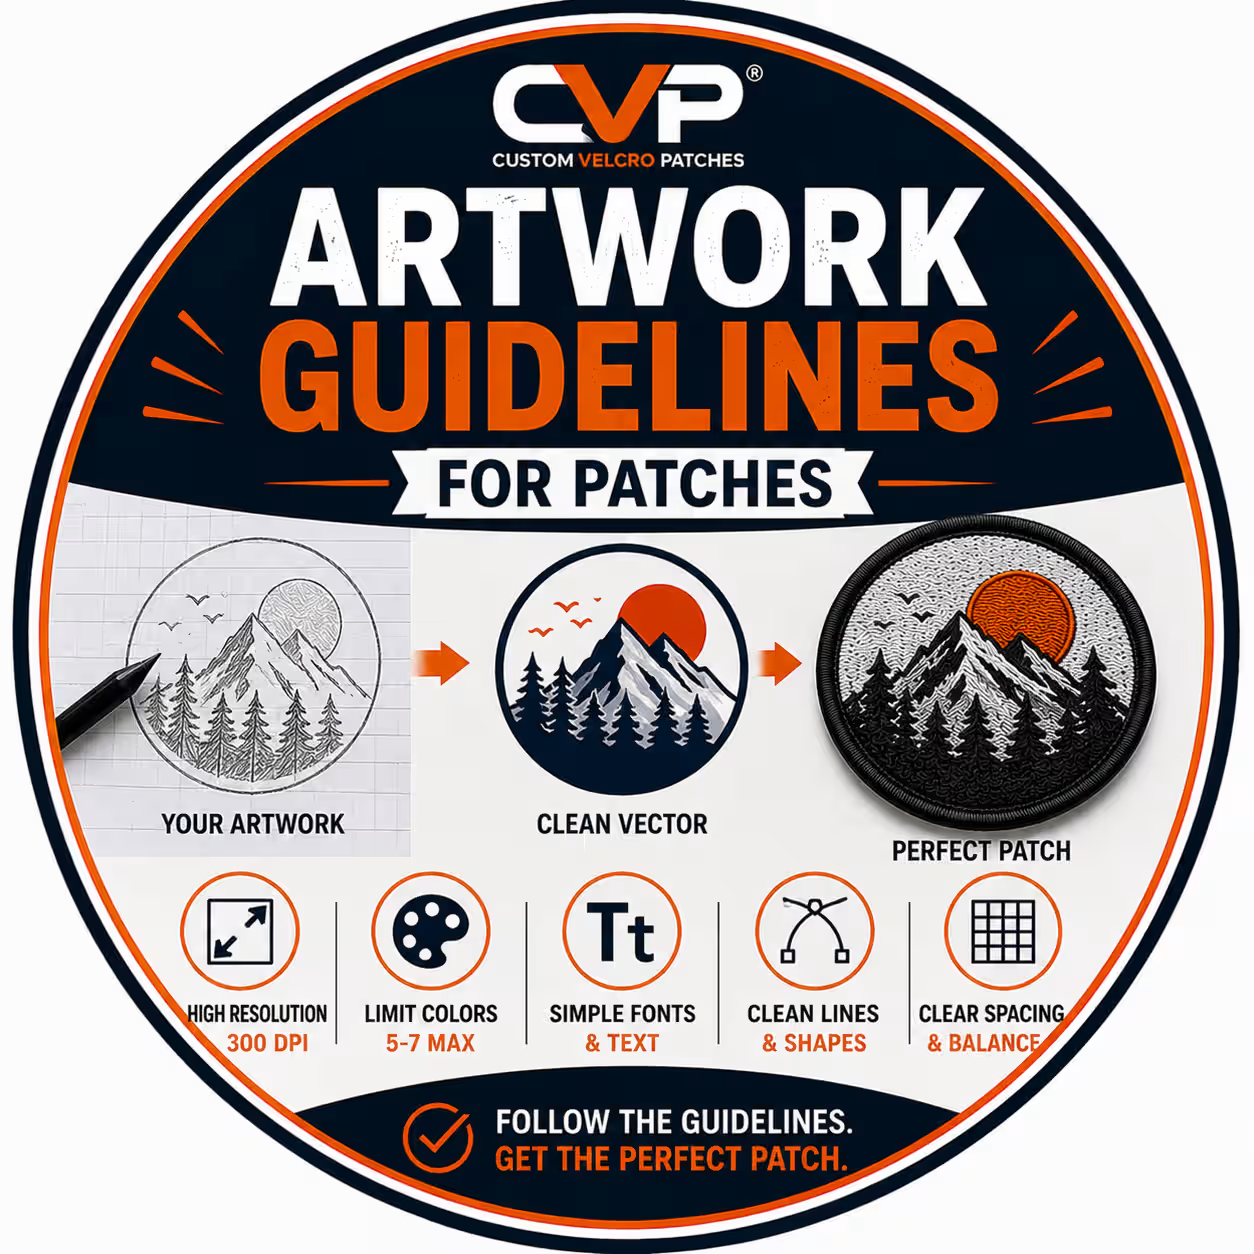
Artwork guidelines are the technical rules that govern how a design must be prepared before it becomes a custom patch. Artwork is the source design you supply. The patch is the physical product we manufacture. Digitising bridges the gap between the two for embroidered patches, while a print file or mould file performs the same role for printed and PVC patches.
Your artwork carries every instruction the production team needs. The file format determines whether the design scales cleanly. The resolution determines how sharp the detail remains. The colour values determine how closely the finished thread or print matches your brand. Each attribute shapes the final result, so each one deserves attention before you place an order.
Clean artwork produces a clean patch. Poor artwork produces a compromised patch, regardless of the manufacturing method. The sections below set out the specifications that keep your design sharp, legible, and faithful to the original.
Accepted File Formats for Patch Artwork
Patch artwork falls into two file categories: vector files and raster images. The distinction matters because each category behaves differently when our team resizes, digitises, or prints your design. Choosing the correct file format is the single most important step in preparing artwork for custom patches.
Vector Files (Preferred)
Vector files are the preferred format for all patch artwork. A vector file stores a design as mathematical paths and nodes rather than pixels. The design scales endlessly without losing quality, which means a logo stays crisp whether it sits on a 50 mm sleeve patch or a 250 mm jacket back patch. Our art department converts vector outlines into stitch files or print files with maximum accuracy.
Preferred vector formats include AI (Adobe Illustrator), EPS, PDF, and SVG. Save all fonts as outlined curves before submission, because outlined text removes any risk of missing fonts on our system. Vector artwork also eliminates the redraw stage, which speeds up your turnaround.
Raster Images (Accepted with Conditions)
Raster images are accepted when they meet a minimum resolution. A raster image stores a design as a fixed grid of pixels. The image holds its quality only at its native size, and it blurs into a staircase of pixels when enlarged. Common raster formats include JPG, PNG, and TIFF.
Submit raster artwork at a minimum of 300 DPI (dots per inch) at the intended patch size. A 300 DPI file gives our team enough detail to digitise embroidery or prepare a print accurately. A low-resolution screenshot or a small web image rarely contains enough data, so it usually requires a redraw before production.
Why Vector Artwork Produces the Best Patches
Vector artwork produces the best patches because it preserves clean edges at every size. Embroidery digitising reads sharp outlines and converts them into precise stitch paths. A vector logo gives the digitiser exact boundaries for each colour block, each line, and each piece of text. The result is a patch with defined shapes, even satin borders, and legible lettering.
This is why a vector file removes the redraw fee that a raster image often triggers. The cleaner your starting artwork, the closer your finished patch matches your intended design.
| File Type | Category | Accepted? | Best Use |
|---|---|---|---|
| AI (Adobe Illustrator) | Vector | Preferred | Logos, detailed designs, all patch types |
| EPS | Vector | Preferred | Scalable brand artwork |
| PDF (vector) | Vector | Preferred | Print-ready designs, proofs |
| SVG | Vector | Preferred | Web-based logos, simple graphics |
| TIFF | Raster | Accepted at 300 DPI | High-resolution photographs |
| PNG | Raster | Accepted at 300 DPI | Logos with transparent backgrounds |
| JPG | Raster | Accepted at 300 DPI | Photographic designs |
| GIF | Raster | Not recommended | Low-detail web graphics |
Artwork Requirements by Patch Type
Each patch type handles artwork differently, because each manufacturing method has its own physical limits. Embroidery builds a design from thread. Weaving uses a finer thread on a tighter loom. PVC sets the design into a moulded surface. Printing applies full colour to a flat substrate. Your artwork must respect the limits of the method you choose, so match the design complexity to the patch type before you submit.
Embroidered Patch Artwork
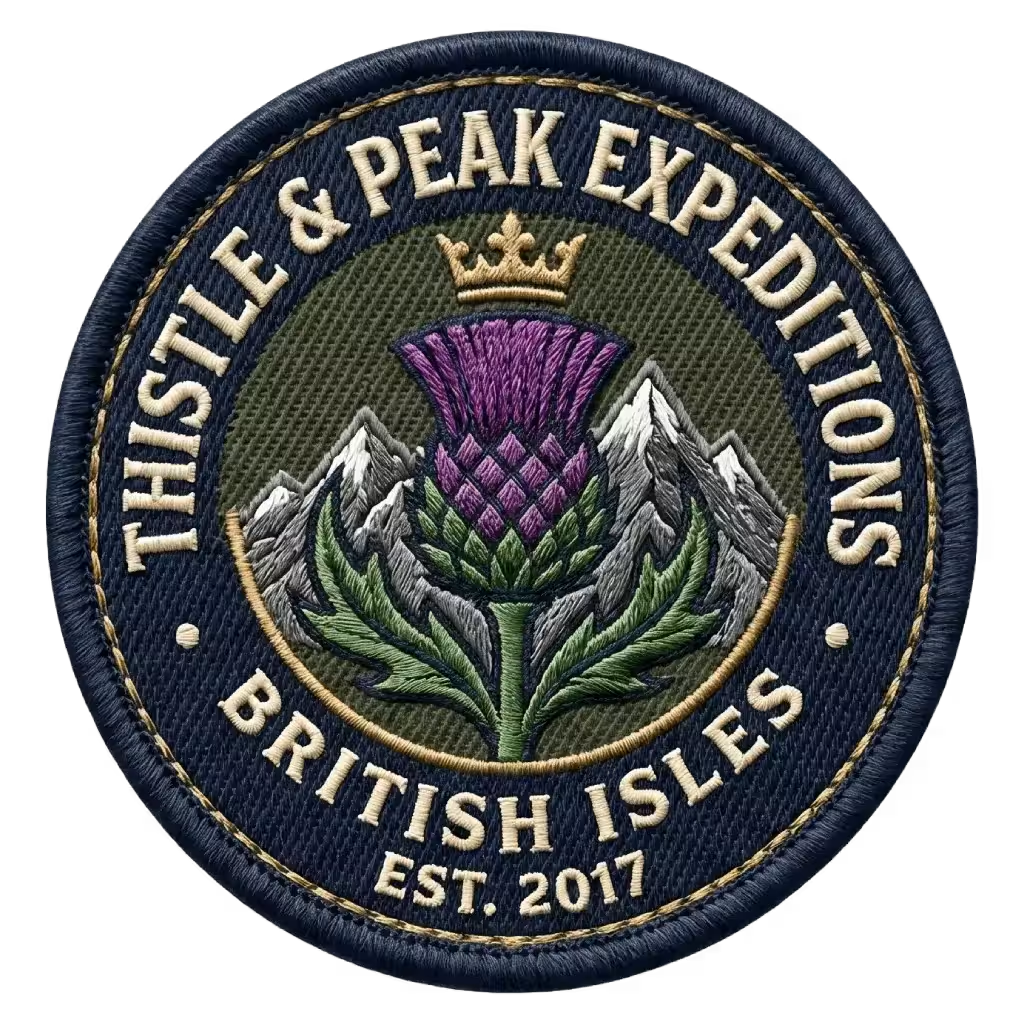
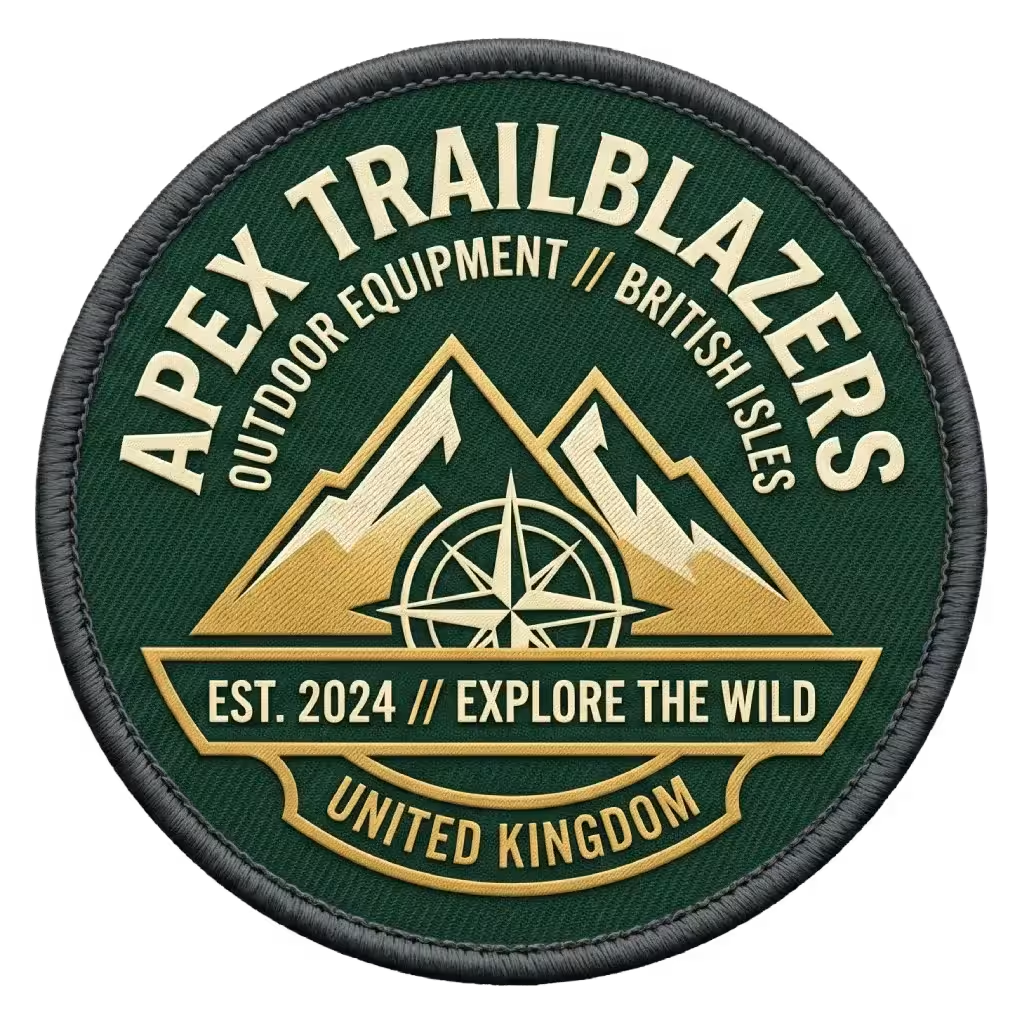
Embroidered patch artwork suits bold shapes, clear logos, and limited fine detail. Embroidery stitches your design in thread, and thread has physical thickness. Small letters and thin lines blend together once stitched, so simplify intricate elements before submission. Keep your colour palette tight, because each thread colour adds a colour change during production. Bold, sans-serif fonts reproduce far better than ornate scripts on an embroidered patch.
Woven Patch Artwork
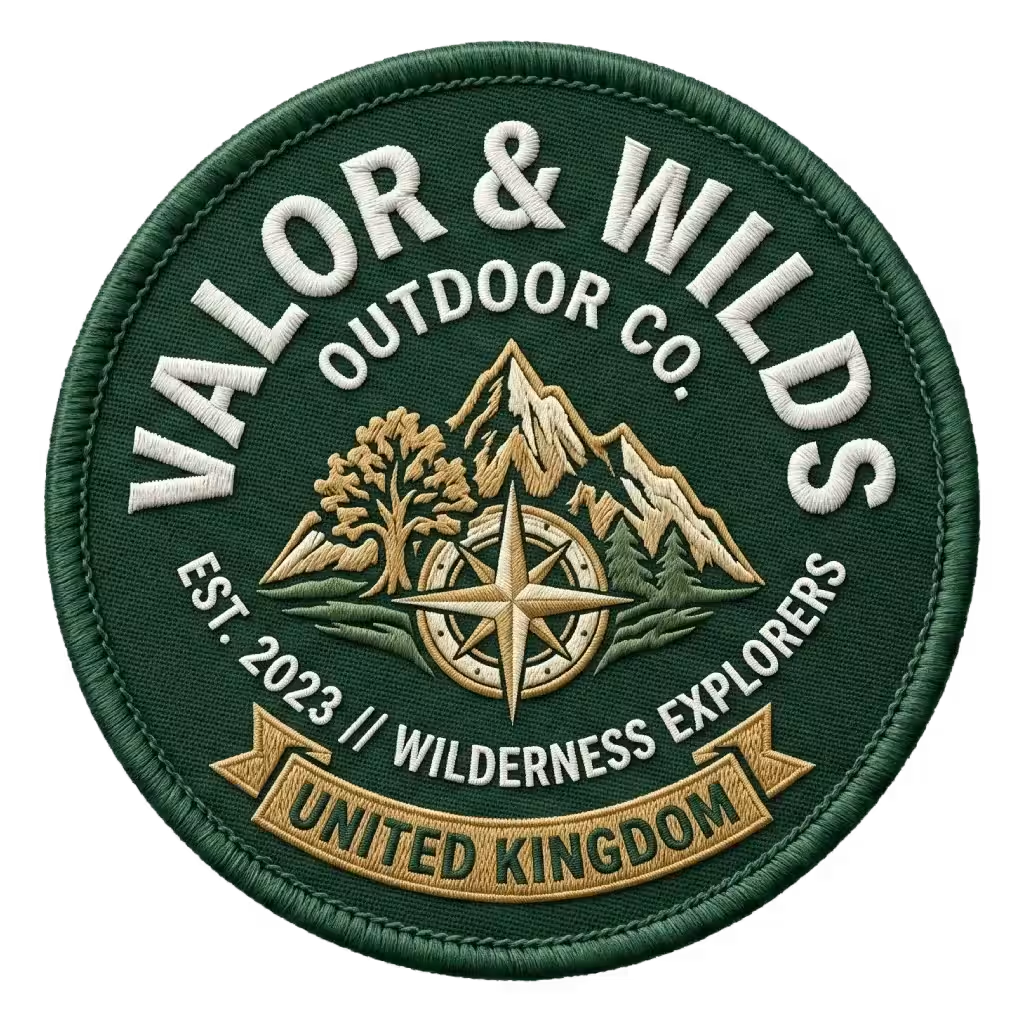
Woven patch artwork supports finer detail than embroidered artwork. Woven patches use a thinner thread on a tighter weave, which captures small text and intricate logos that embroidery cannot hold. Unlike embroidered patches, woven patches reproduce text down to 2–3 mm and render delicate outlines cleanly. Choose woven patches when your design carries small lettering, fine borders, or a detailed logo.
PVC Patch Artwork
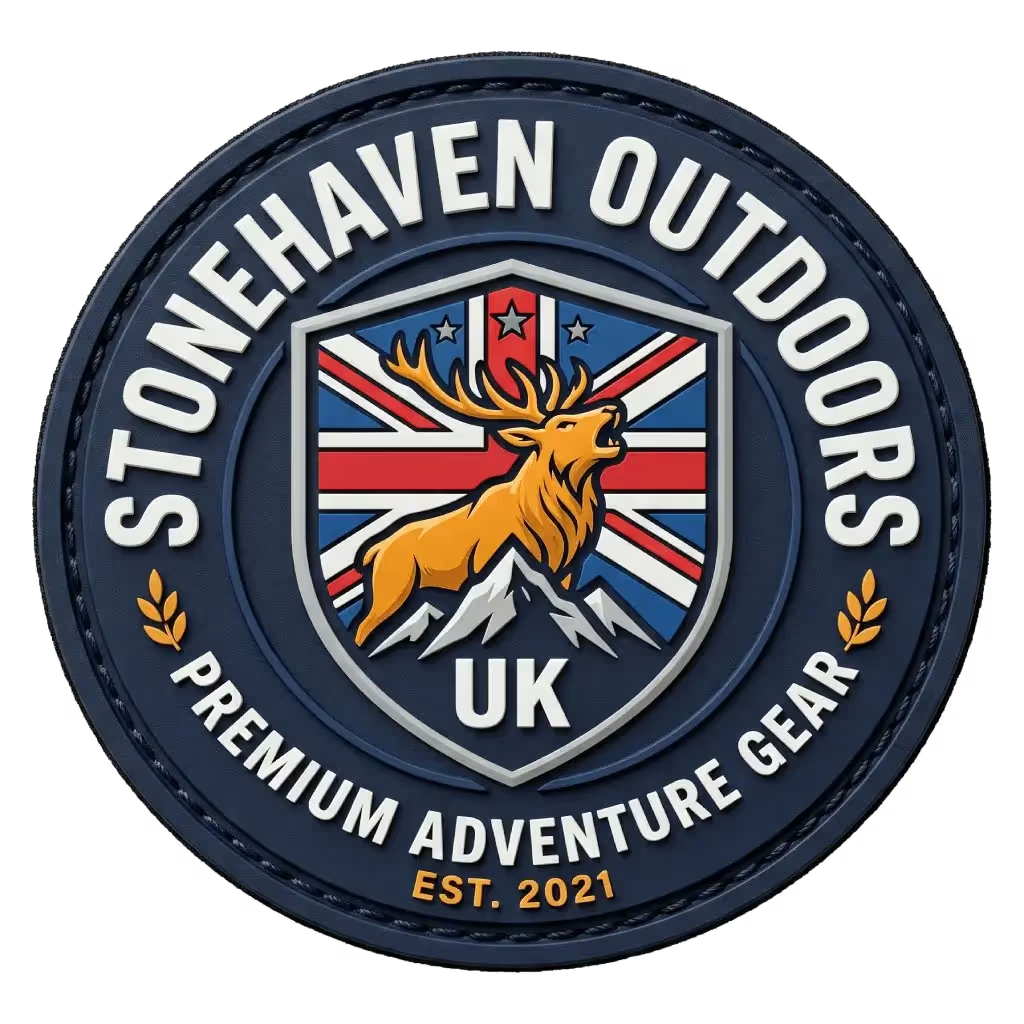
PVC patch artwork works best with clean, solid shapes and defined colour blocks. PVC patches set your design into a moulded rubber surface, which produces sharp edges and a durable, waterproof finish. The mould reproduces tight gaps and small letters more cleanly than thread, so PVC handles detail at smaller sizes than embroidery. Specify whether you want a 2D flat design or a 3D raised relief, because the mould is built to match. PVC suits outdoor gear, military kit, and tactical applications.
Printed Patch Artwork
Printed patch artwork accepts full colour, gradients, and photographic detail. Printed patches use dye-sublimation to apply your design to a flat substrate, which reproduces unlimited colours and smooth blends. Unlike embroidered patches, printed patches handle photographs, complex gradients, and designs with more than eight colours. Supply printed artwork in CMYK colour mode for accurate reproduction. Choose printed patches when your design depends on fine detail or a full-colour image.
Chenille and Leather Patch Artwork
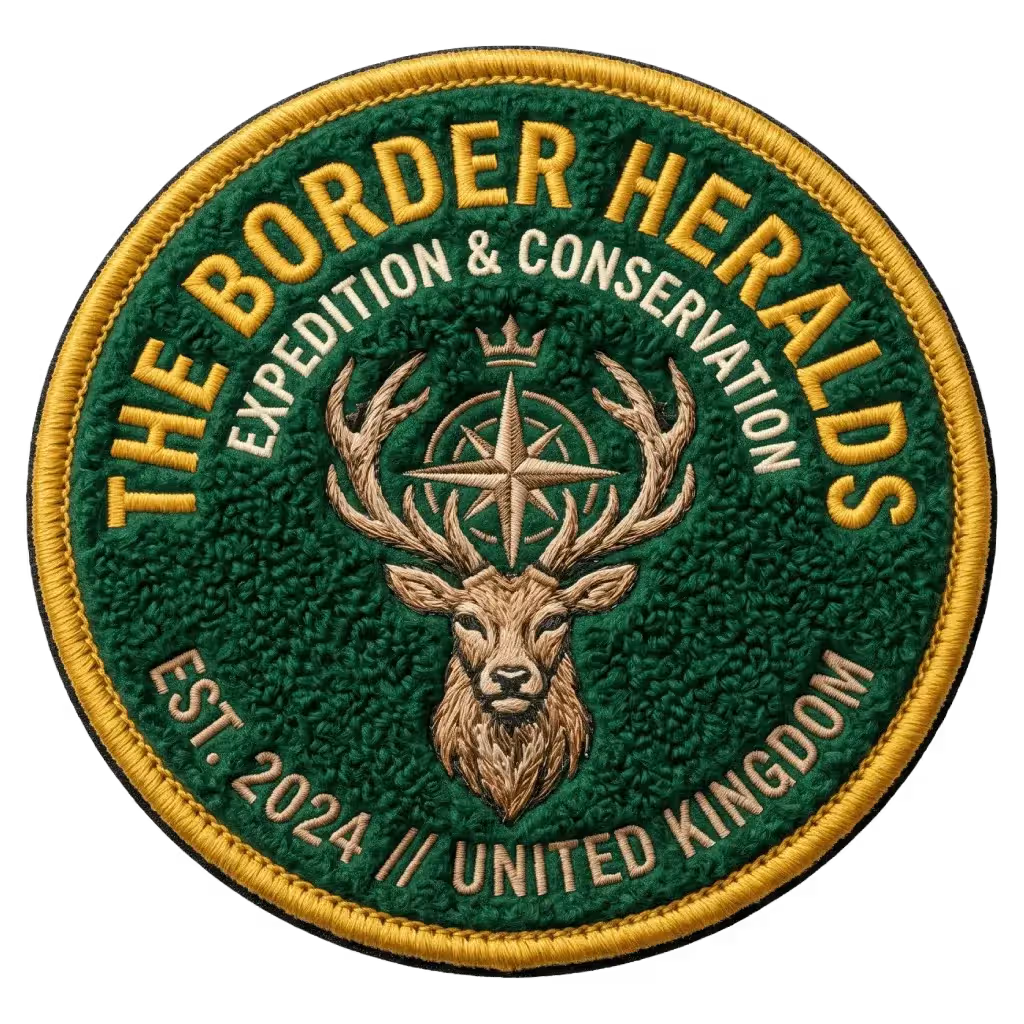
Chenille and leather patch artwork must stay simple and bold. Chenille patches build a raised, textured surface from yarn loops, so they suit large letters, varsity initials, and bold club emblems rather than fine detail. Leather patches carry an embossed or debossed design, which favours clean outlines and simple logos. Both patch types reward minimal artwork with a premium finish, so reduce small detail before submission.
| Patch Type | Minimum Text Size | Detail Level | Colour Handling | Best Artwork Type |
|---|---|---|---|---|
| Embroidered | 5 mm | Low–medium | Limited thread colours | Bold vector logos |
| Woven | 2–3 mm | High | Multiple fine colours | Detailed vector designs |
| PVC | ~3 mm | Medium–high | Solid moulded colours | Clean vector shapes |
| Printed | 2 mm | Very high | Unlimited / photographic | Full-colour vector or 300 DPI raster |
| Chenille | Large only | Low | Bold blocks | Simple bold lettering |
| Leather | Medium | Low–medium | Single embossed tone | Clean outlined logos |
Minimum Text Size and Line Thickness
Minimum text size and line thickness set the lower limit for legible detail on a patch. Thread, mould, and weave each have a physical thickness, so a design element below the minimum closes up and loses clarity. Respecting these limits keeps your lettering readable and your lines clean once the patch is produced.
Embroidered patches carry the strictest limits, because thread is the thickest medium:
- Minimum text height: 5 mm (around 0.25 inches) for embroidered patches
- Minimum line thickness: 1.3 mm (around 0.05 inches); 2.5 mm or thicker is safer
- Woven and printed patches hold smaller text, down to 2–3 mm
- Space between separate elements: leave at least 1.8 mm to prevent merging
Patch size and text size work together. A text-heavy logo at 50 mm struggles on an embroidered patch, while the same logo at 75 mm reads cleanly. Size up your patch or switch to a woven or PVC patch when your design depends on small lettering. Our patch sizing guidelines explain how placement and dimensions affect legibility, so review them alongside your artwork.
Colour and Pantone Matching
Colour matching ensures the finished patch reproduces your brand colours accurately. Each manufacturing method handles colour differently, so the reference you supply depends on the patch type. Supplying a clear colour reference protects your brand identity across every order.
Embroidered patches use thread colours matched to Pantone (PMS) references. Thread shades approximate Pantone codes closely, though they are not an exact match, because thread and ink are different media. Printed patches use CMYK colour mode, which reproduces your design across the full colour spectrum. PVC patches use solid moulded colours matched to Pantone references.
Colour contrast also affects legibility. Thread colours must stand out clearly against the backing fabric, so a dark logo on a light twill reads better than two similar tones. Include your Pantone codes with your artwork whenever possible. Our patch colour matching service explains how we reproduce brand colours across thread and print, so reference it when accuracy matters to your order.
Resolution, Sizing, and Border Allowance
Resolution and sizing determine how much usable detail your artwork carries into production. Supply raster artwork at a minimum of 300 DPI at the intended patch size, because a file scaled up from a smaller image loses sharpness. Vector artwork avoids this limit entirely, as it scales without quality loss.
Border allowance affects your design layout. A merrow border, the overlocked stitched edge standard on embroidered patches, occupies part of the perimeter. A laser-cut border trims a clean die-cut edge instead. Keep important detail and text clear of the outer edge, so the border never crops your design. Our guide to patch borders explains the merrow and laser-cut options in full, which helps you plan the safe area for your artwork.
How to Submit Your Artwork
Submitting your artwork follows a clear, repeatable process. Each step moves your design closer to production while protecting its quality. Follow these steps to prepare and send your patch artwork:
Prepare your file. Save your design as a vector file (AI, EPS, PDF, or SVG) with outlined fonts, or as a 300 DPI raster image at the intended size.
Set your specifications. Note your patch type, size in millimetres, quantity, backing type, and any Pantone colour codes.
Send your artwork. Upload your file through our quote form or email it to our art department with your specifications.
Digitising and redraw. Our team digitises embroidered designs into a stitch file, or redraws low-quality artwork into a clean vector where needed.
Approve your digital proof. We send a digital proof showing how your patch will look before anything goes into production.
Production begins. We manufacture your custom patches only after you approve the proof.
This process keeps you in control of the final design. The proofing stage in particular protects you from surprises, which the next section explains.
The Digital Proof and Approval Stage
The digital proof is a visual mock-up of your patch sent for approval before production. Every order receives a digital proof, and no patch enters production without your sign-off. The proof shows the design, the colours, the size, and the border, so you confirm every detail in advance.
This stage catches issues early. You check the spelling, verify the colours against your brand, and confirm the layout sits correctly within the border. Approve the proof when it matches your intention, or request changes when it does not. Our digital proof service explains the approval stage in detail, so review it to understand exactly what you receive before we manufacture your patches.
Common Artwork Mistakes to Avoid
Common artwork mistakes cause delays, redraw fees, and disappointing results. Avoiding these errors keeps your order on schedule and your patch faithful to the design. The most frequent mistakes include:
- Submitting low-resolution raster images below 300 DPI
- Sending fonts that are not outlined, which risk substitution
- Packing fine detail and small text into a small embroidered patch
- Using gradients or photographic blends on embroidered artwork
- Omitting Pantone colour references for brand-critical designs
- Filling the entire canvas, leaving no clearance for the border
Each mistake traces back to a guideline above. Matching your artwork to your chosen patch type prevents nearly all of them.
Our Customer Reviews
Frequently Asked Questions
Can I send a JPG or PNG for my patch?
Do I need to vectorise my logo before ordering?
Is there a minimum text size for embroidered patches?
Do you redraw low-quality artwork?
Will I see a proof before my patches are made?
Summary
Preparing patch artwork comes down to one principle: match your design to the manufacturing method before you submit. Vector files give the cleanest results across every patch type, while raster images need at least 300 DPI to hold their detail. Embroidered patches reward bold, simple designs with readable text, whereas woven and printed patches capture finer detail and richer colour. Keep your lettering above the minimum size, supply Pantone references for accurate colour, and leave clearance for the border. Every order then passes through a digital proof, so you approve the finished design before we make a single bespoke patch in the UK. Ready to start? Request your free quote and send your artwork to our team today.
Request a Free Quote