Understanding Your Digital Proof
A digital proof is a to-scale digital mock-up that displays the exact stitch layout, thread colours, dimensions, and backing of your custom patch before production begins. This page explains how to read your digital proof, what to check on it, and how to approve or revise the design so your finished Velcro patch matches your expectation. Every custom patch order at Custom Velcro Patches passes through this proof stage, because a single approved proof protects both your design intent and your budget.
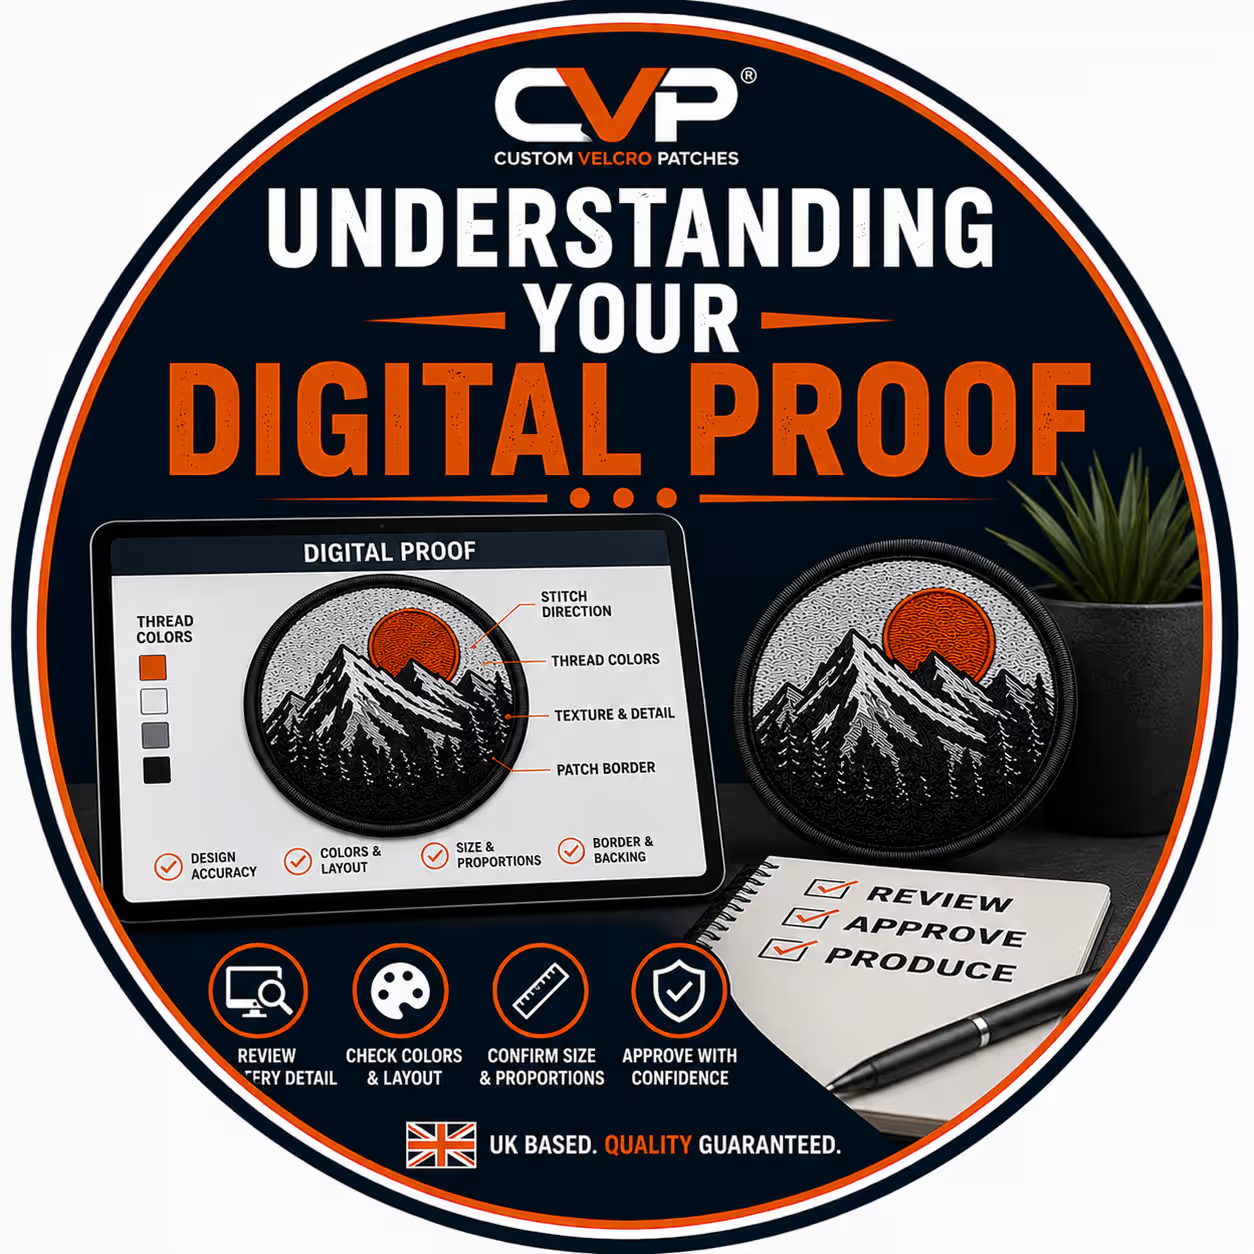
The digital proof sits at the midpoint of the custom patch ordering process. You submit artwork, our design team converts that artwork into a production-ready file, and the digital proof returns to you for approval. Production does not start until you approve. This sequence places the proof as the final checkpoint between your idea and the embroidery machine, which makes it the most important review stage in the entire bespoke patch journey.
What Is a Digital Proof?
A digital proof is a visual representation of your patch design, rendered as a digital image and sent for your approval before manufacturing. The proof shows your patch at its true dimensions, with the correct thread colours, border style, text, and hook-and-loop backing clearly marked. In simple terms, the digital proof is the bridge between the artwork you supplied and the physical patch we stitch.
Our design team produces every digital proof from your uploaded file, whether you send a logo, a photograph, a hand-drawn sketch, or a written brief. The proof translates that raw input into a clear, reviewable mock-up. Because the proof reflects the actual production specification, it functions as a contract: what you approve is what we make.
Digital Proof vs Physical Sample
A digital proof is an on-screen mock-up, while a physical sample is a single stitched patch produced before the full run. The two serve different purposes at different stages of the order. The digital proof confirms the design on screen for free within 24 to 48 hours, and the physical sample confirms the look and feel in your hand over five to seven working days for a small fee.
Most custom patch orders proceed on the digital proof alone, because the proof captures colour, size, spelling, and backing accurately enough for confident approval. Larger orders, critical brand reproductions, or complex hook-and-loop designs sometimes justify a physical sample as an extra layer of assurance. Unlike the physical sample, the digital proof carries no cost and no production delay, which is why it remains the standard review step for bespoke patches in the UK.
What a Digital Proof Shows
A digital proof shows five core elements of your custom patch: the size, the thread colours, the border style, the text, and the backing type. Each element appears on the proof so you can verify it against your original brief. Reading these five elements in order gives you a complete check of the design before approval.
The proof displays your patch dimensions in millimetres, which lets you confirm the patch fits its intended garment or plate carrier. The thread colours appear as rendered shades, often labelled with the closest Pantone (PMS) reference for accuracy. The border style is marked as either a merrow border or a laser-cut edge, depending on your patch shape. The text is shown at its production size so you can check spelling and legibility. The backing type is noted clearly, and for our products this is the hook-and-loop (Velcro) backing that lets you attach and reposition the patch. Together, these five attributes make the digital proof a full snapshot of the patch you will receive.
Why the Digital Proof Stage Matters
The digital proof stage matters because it is the only point at which design changes cost nothing. Once production begins, the stitch file is locked and the embroidery machine follows it precisely. Reviewing the proof carefully therefore prevents errors that would otherwise be permanent in the finished patch. The proof is your safeguard, and the few minutes you spend checking it save the cost and delay of a remake.
This stage also gives you control over the final outcome. You are not approving a vague promise; you are approving a specific, measurable specification. Every attribute on the proof, from thread colour to backing, becomes a fixed instruction for our production team the moment you confirm it.
Catching Errors Before Production
The digital proof exists to catch errors before they reach production. The three most common errors are misspelled text, mismatched colours, and incorrect sizing. Each error is invisible once stitched, because thread cannot be unpicked and rewritten the way a digital file can. Catching these errors on the proof is fast, free, and final in the best sense.
Spelling errors top the list, especially with custom wording, names, and collar numbers. A single transposed letter on a patch design becomes a permanent flaw on every patch in the run. Colour mismatches follow, usually when a brand colour drifts from its intended Pantone reference. Sizing errors occur when a patch is scaled for the wrong garment area. Checking the proof against your brief eliminates all three before a single stitch is sewn, which is precisely why the approval step is mandatory rather than optional.
How the Proof Reflects the Final Patch
The digital proof reflects the final patch in shape, size, layout, and text with near-exact accuracy. The one attribute that requires a brief caveat is colour, because a backlit computer screen emits light while embroidery thread reflects it. This difference means a colour on screen and the same colour in thread can appear subtly different, even when the production file is correct.
We manage this colour difference through Pantone (PMS) colour matching, which assigns each shade in your design a physical thread reference rather than a screen value. When your proof lists a Pantone code, our team matches that code to the closest thread on our colour chart, so the stitched result stays true to your brand. Understanding this screen-versus-thread relationship helps you read your proof realistically, and it sets up the detailed checking process.
How We Create Your Digital Proof
We create your digital proof in two stages: artwork preparation and stitch-file conversion. Your submitted file enters our design studio first, where a designer cleans the artwork, sets the dimensions, and assigns the thread colours. The prepared design then converts into a proof image that shows the patch exactly as it will stitch. This two-stage method ensures the proof you approve is the same file our machines produce.
Our design service is included at no extra cost on every custom patch order. You send a logo, sketch, photograph, or written brief, and our team returns a production-ready proof within 24 to 48 hours. The digital proof, therefore, removes the technical burden from you and places it with our designers, who handle the conversion to a manufacturable format.
From Artwork to Stitch File (Embroidery Digitising)
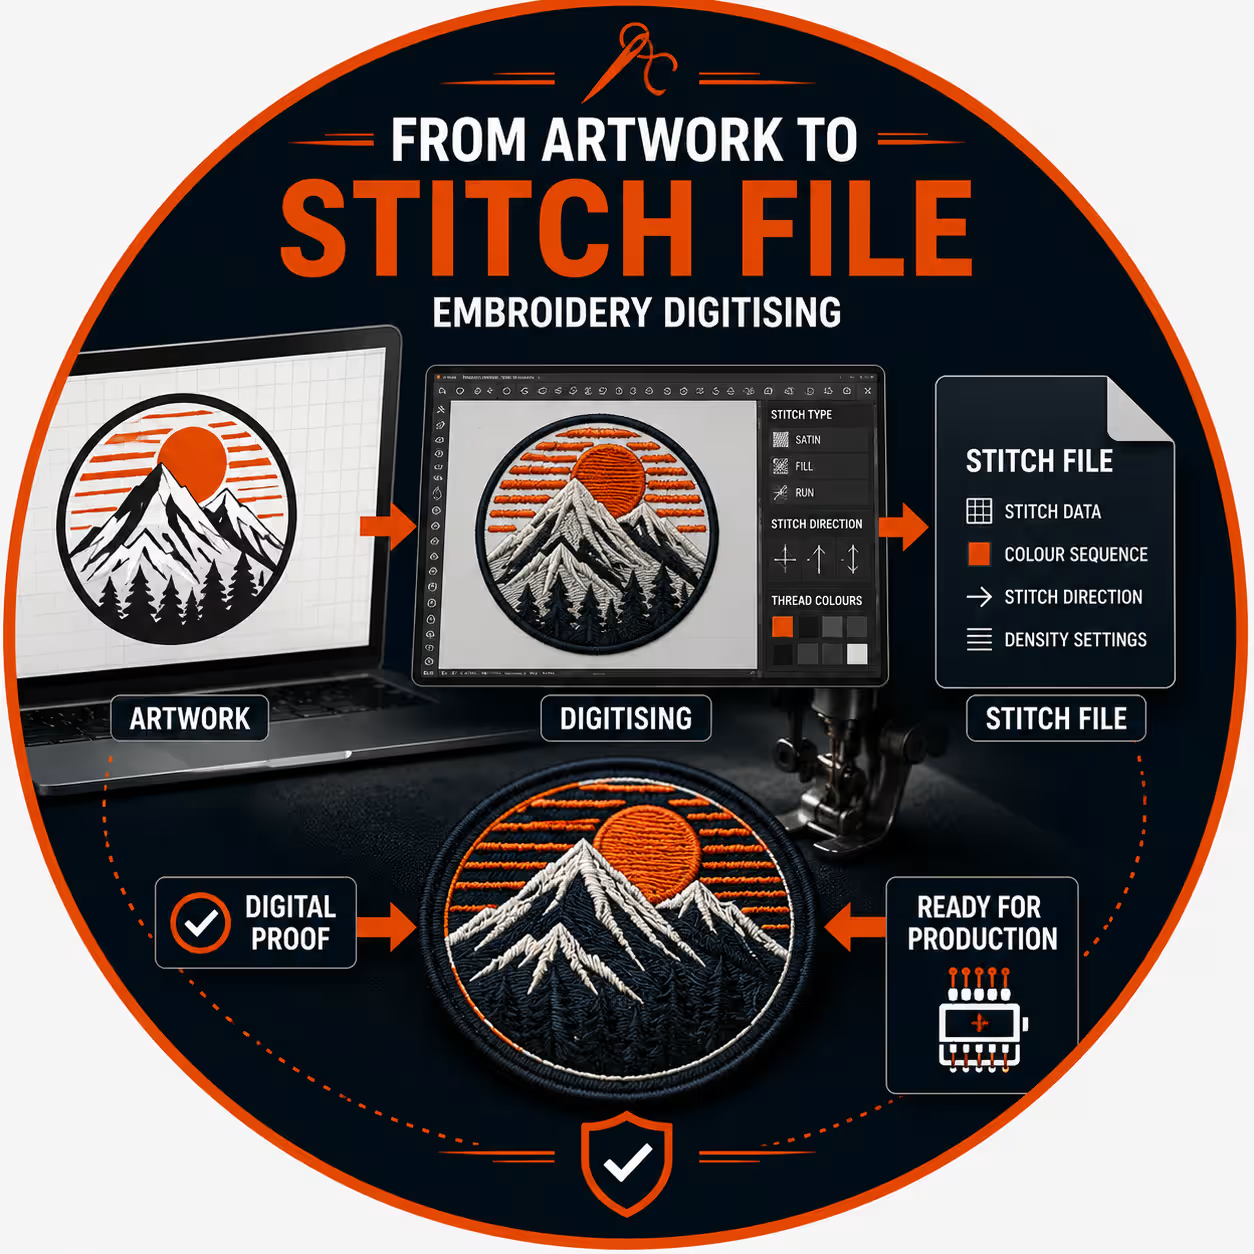
Embroidery digitising is the process of converting your flat artwork into a stitch file that an embroidery machine can read. The digitiser maps every line, fill, and edge of your design to a specific stitch type, stitch direction, and thread colour. This stitch file, not the original image, is what drives the needle during production. The digital proof is the visual preview of that stitch file.
Digitising determines the quality of the finished patch as much as the artwork itself. A well-digitised design holds crisp text, clean borders, and accurate detail at small sizes, which matters for logos, collar numbers, and fine lettering. Our digitisers set a minimum stitch density so that even small patches retain definition. Because the proof represents the digitised file, approving the proof also approves the underlying stitch instructions.
Vector vs Raster Artwork
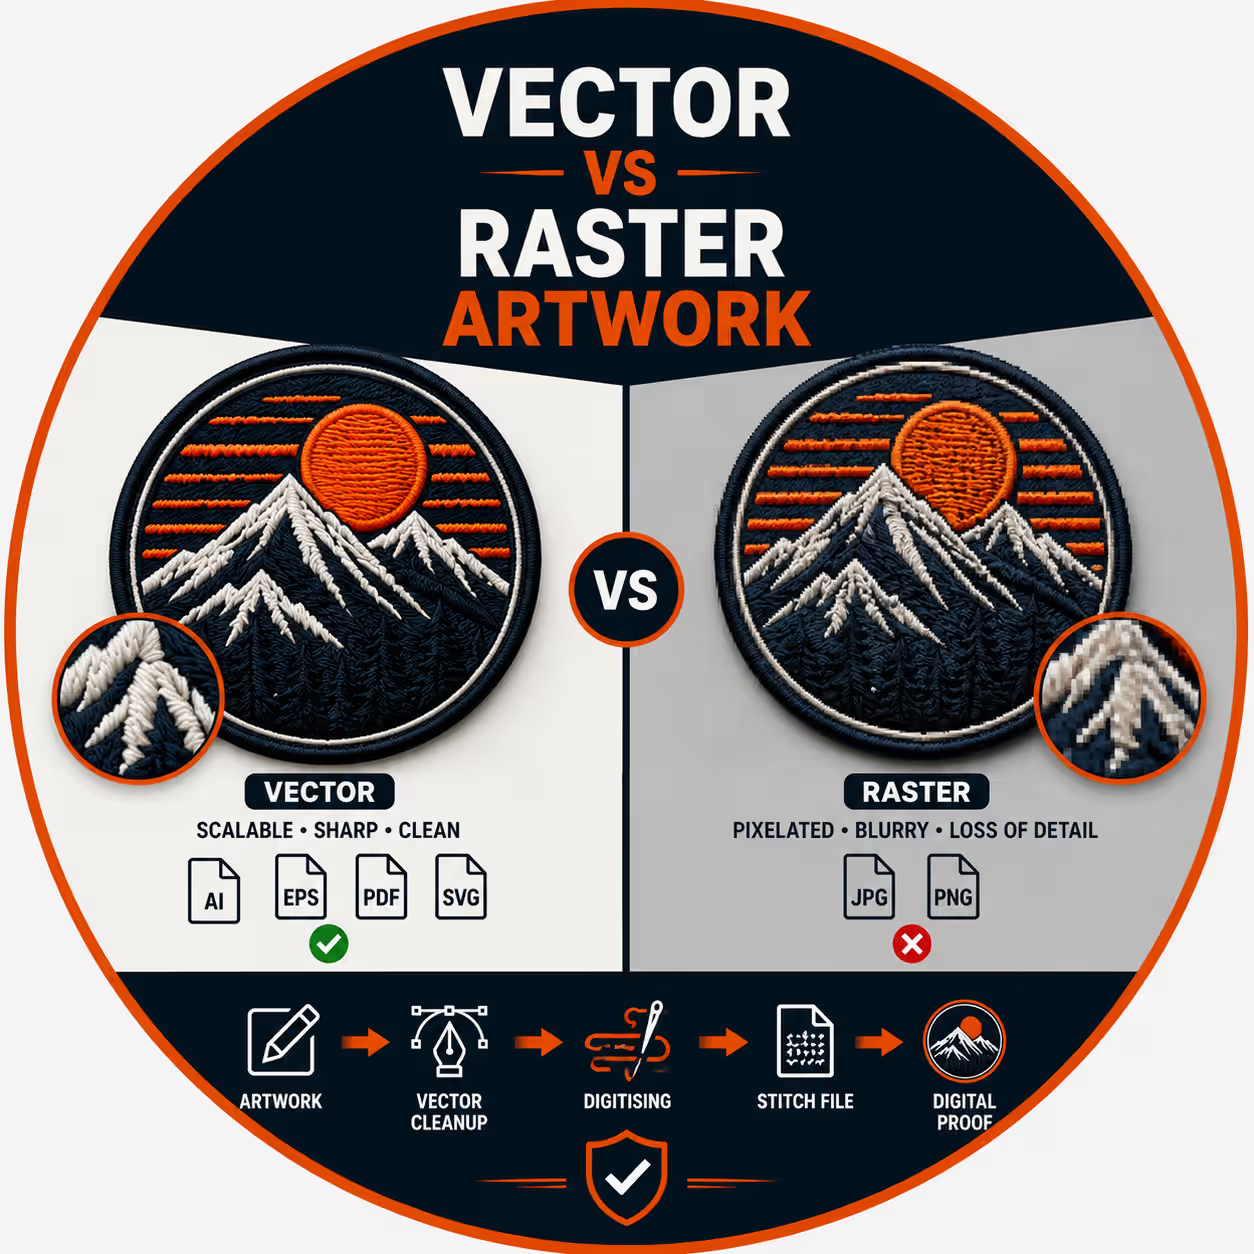
Vector artwork scales without quality loss, while raster artwork degrades when enlarged. This distinction affects how cleanly your design converts to a stitch file. Vector files such as AI, EPS, PDF, and SVG give our digitisers the sharpest starting point, because the lines stay crisp at any size. Raster files such as JPG and PNG are usable, but they are pixel-based and lose definition when scaled up.
We accept both file types, and we redraw raster artwork into vector format at no charge when a design needs it. This redraw step protects the detail in your patch, especially for intricate logos and small text. Once the artwork sits in a clean vector form, the digitising produces a stitch file that reflects your design faithfully on the proof.
How to Read Your Digital Proof
Read your digital proof in four checks: spelling, colours, size, and border with backing. Working through these checks in order gives you a complete and systematic review. Each check targets a specific attribute of the patch, and each takes only a moment against your original brief. Approve the proof only when all four checks pass.
- Check the Spelling and Text. Check every letter, number, and word on the proof against your brief. Spelling errors are the single most common reason for a remake, because thread cannot be edited once stitched. Read names, place names, mottos, and collar numbers character by character. Pay close attention to abbreviations and any custom wording, where autocorrect or a typo in the original brief can slip through unnoticed.
- Check the Colours and Pantone Matching. Check that each colour on the proof matches your intended shade, ideally against a Pantone (PMS) reference. The proof lists thread colours so you can confirm them, and where you have supplied brand colours, the proof shows the closest matched thread. Remember the screen-versus-thread point from earlier: judge colour by the Pantone code rather than by the exact pixel shade on your monitor. If a colour looks wrong, request the correct Pantone reference before approving.
- Check the Size and Dimensions. Check the patch dimensions in millimetres against the space it will occupy. The proof states the width and height so you can confirm the patch fits its garment, cap, bag, or plate carrier. Size affects detail: very small patches limit how much fine text and intricate design the stitching can hold. If your design feels crowded at the stated size, increasing the dimensions slightly often improves legibility.
- Check the Border and Backing Type. Check that the border style and backing type on the proof match your order. The proof marks the border as either a merrow border for standard shapes or a laser-cut edge for custom die-cut shapes. It also confirms the backing, which for our patches is the hook-and-loop (Velcro) backing that lets you attach, remove, and reposition the patch on tactical gear, uniforms, and bags. Confirm both before approval, because the border and backing define how the finished patch looks and attaches.
Approving or Revising Your Proof
After your four checks, you either approve the proof or request a revision. Both routes are simple, and neither route starts production until you give explicit approval. This final decision returns full control to you, and it marks the boundary between design and manufacturing.
How to Approve Your Proof
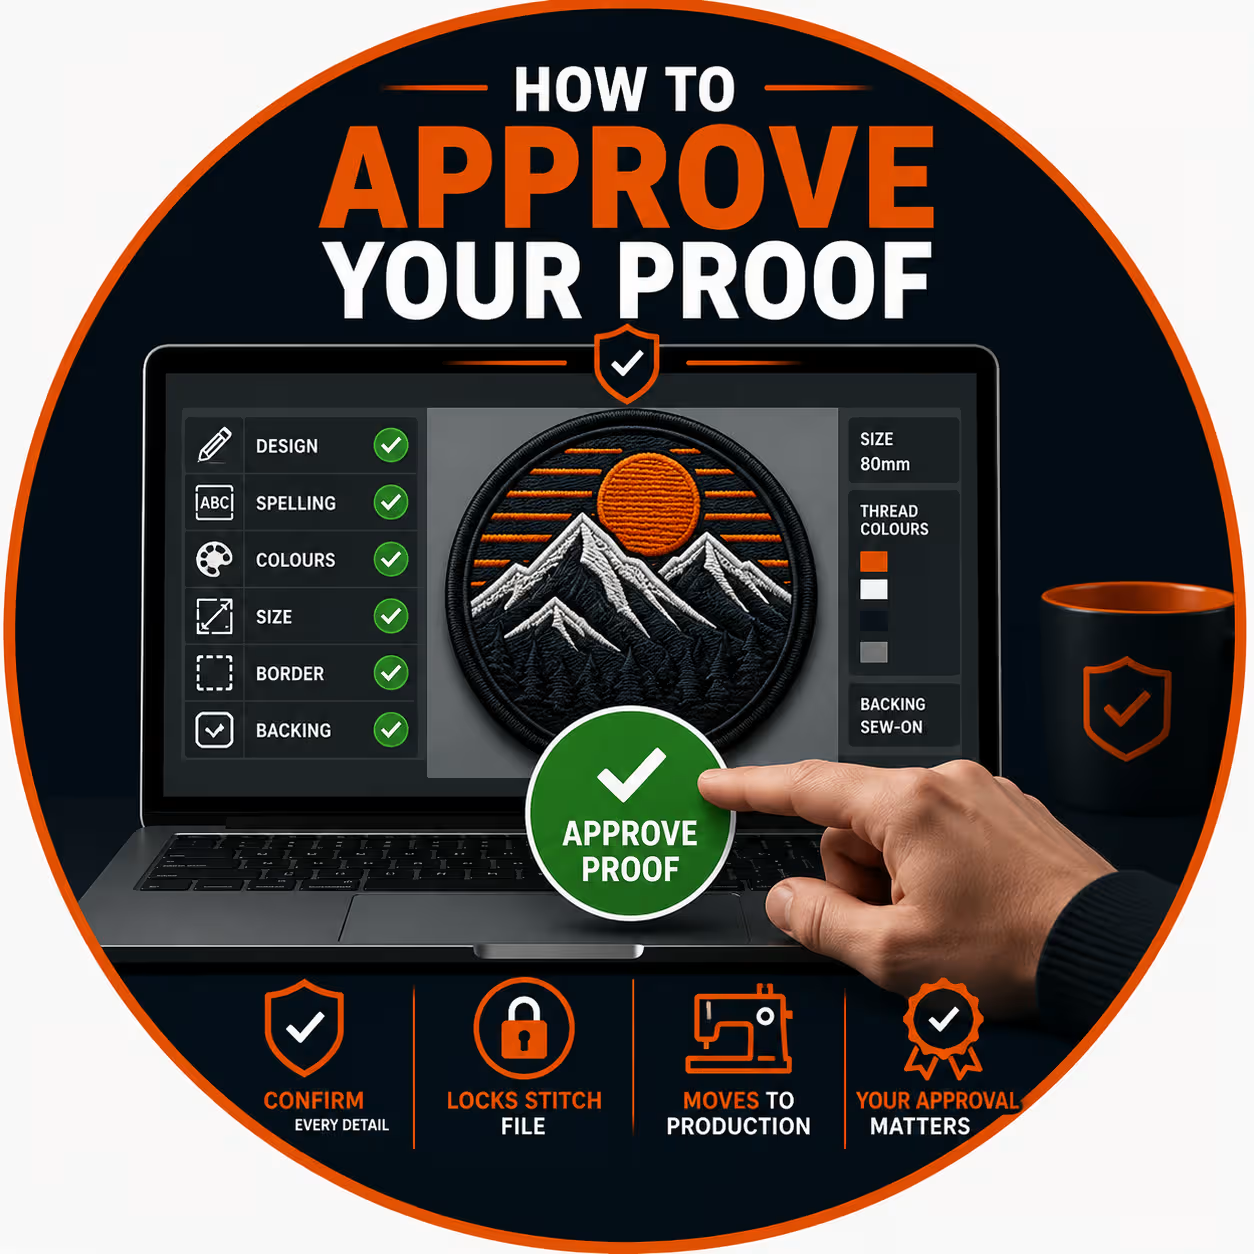
Approve your proof by replying to confirm that the design, spelling, colours, size, border, and backing are all correct. Your approval is the signal that releases the order into production. Once you approve, the stitch file locks and our team schedules the order on the production line. Approval is therefore a deliberate, final step rather than a casual reply.
How to Request Changes (Revision Rounds)
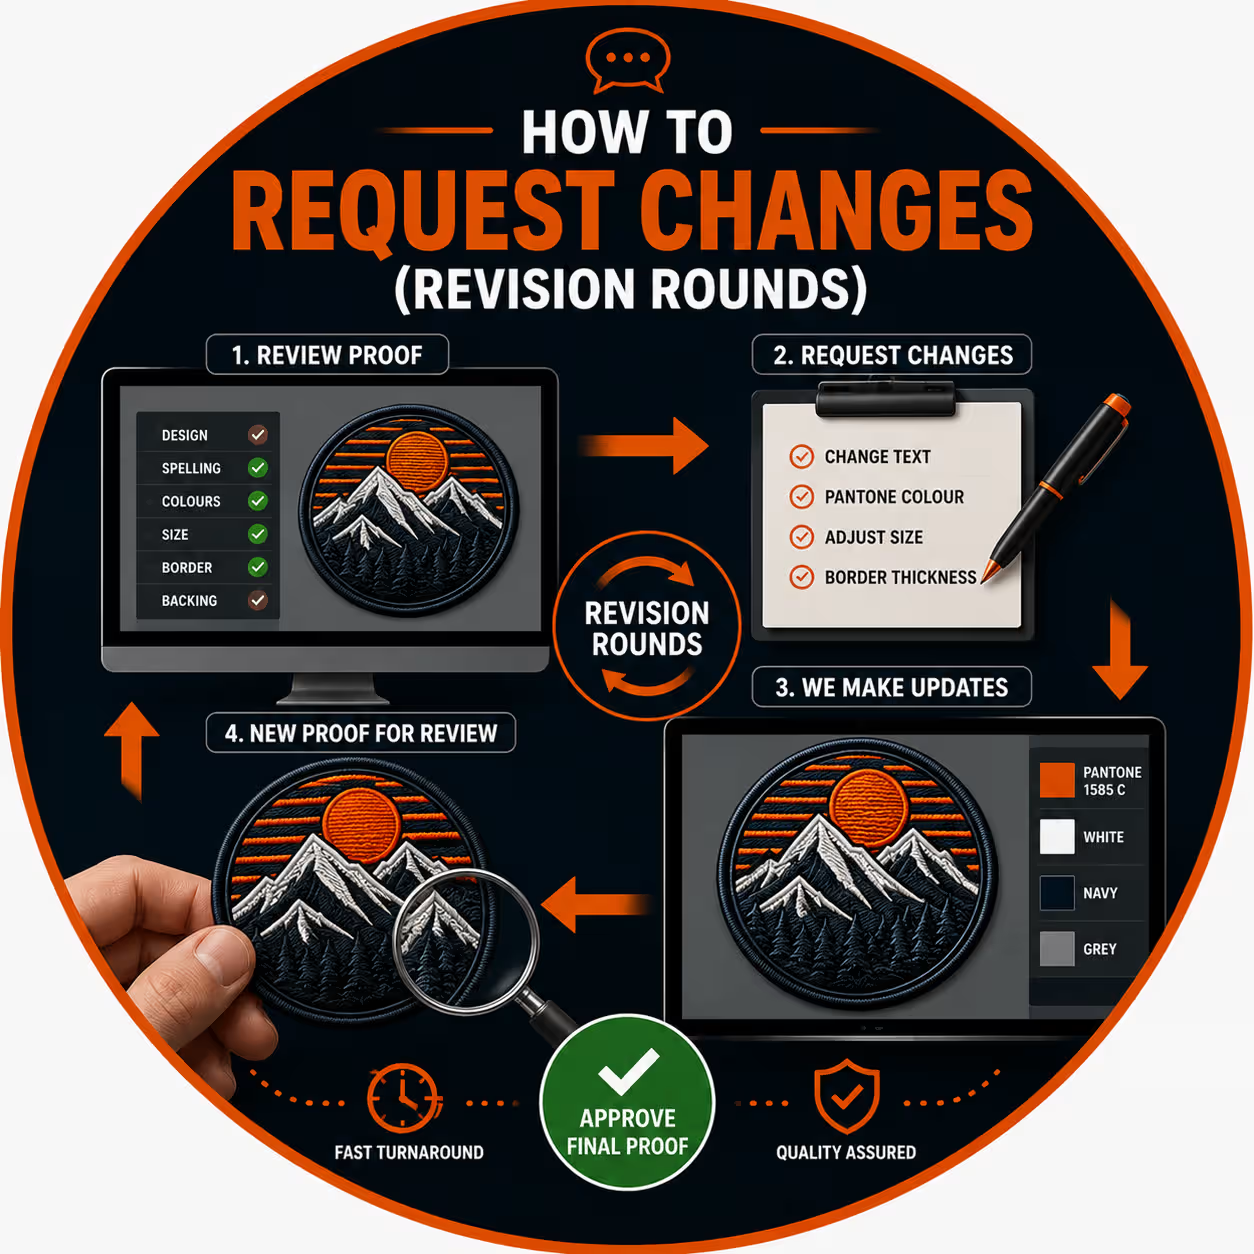
Request changes by listing exactly what needs to change on the proof. Our design team applies your edits and returns an updated proof for a fresh review. We offer revision rounds so the design reaches your standard before production, and each revised proof returns within the same fast turnaround. Clear, specific change requests speed this up: state the exact text, the correct Pantone code, or the new dimension, and the next proof will reflect it precisely.
Common Digital Proof Questions Answered
Two questions arise most often at the proof stage: why screen colours differ from thread colours, and what happens after approval. Answering both removes the last uncertainty before you confirm your custom patch order.
Why Screen Colours May Differ From Thread Colours
Screen colours differ from thread colours because screens emit light and thread reflects it. A monitor also displays colour differently from one device to the next, depending on its calibration and brightness. This is why we anchor colour to the Pantone (PMS) system rather than to your screen. When your proof carries a Pantone code, the stitched thread matches that physical reference, which keeps your brand colour consistent across every patch in the run.
What Happens After You Approve
After you approve, your order moves straight into production with the stitch file locked to your approved proof. Standard UK production and delivery take 7 to 14 working days from approval, including manufacturing and Royal Mail Tracked dispatch. Express production is available for urgent orders. From the moment of approval, the proof becomes the master specification, and every patch is stitched to match it.
Digital Proof vs Pre-Production Sample
A digital proof confirms your design on screen, while a pre-production sample confirms it as a physical patch in your hand. Most orders need only the free digital proof, but the table below shows when a chargeable sample adds value.
| Feature | Digital Proof | Pre-Production Sample |
|---|---|---|
| Format | On-screen digital mock-up | Physical stitched patch |
| Cost | Free | Chargeable |
| Turnaround | Within 24–48 hours | 5–7 working days |
| Shows colour | Yes (Pantone-referenced) | Yes (actual thread) |
| Shows texture & feel | No | Yes |
| Best for | Most custom patch orders | Large runs, critical brand colours, complex designs |
For everyday custom patch orders, the digital proof gives you everything you need to approve with confidence. For a large run or a colour-critical brand reproduction, a pre-production sample lets you hold the finished quality before committing to full production.
Our Customers' Reviews
Our customers consistently highlight the digital proof stage as the moment they felt confident in their order. The reviews below reflect genuine feedback on the proof and approval experience.
Frequently Asked Questions
Is the digital proof free?
Can I request changes to my proof?
How long does the digital proof take?
Will the final patch match the proof exactly?
What happens if I don't approve the proof?
Summary
The digital proof is the review stage that turns your artwork into an approved, production-ready specification for your custom Velcro patches. It shows your patch at true size with its thread colours, border, text, and hook-and-loop backing, and it gives you a free, fast checkpoint to catch spelling, colour, and sizing errors before they become permanent. By reading the proof through four simple checks and confirming against a Pantone reference, you approve with full confidence. Once you approve, the stitch file locks and your bespoke patches go into UK production, matched faithfully to the proof you signed off.
Request a Free Quote